Default Webphone Statuses
For each Agent, you can specify a default webphone status that the Agent will be set to when they first login to Genius. To do this, follow the below steps:
- Go to Users and select a user
- On the Overview page, see the Default Agent Status dropdown in the User Details section
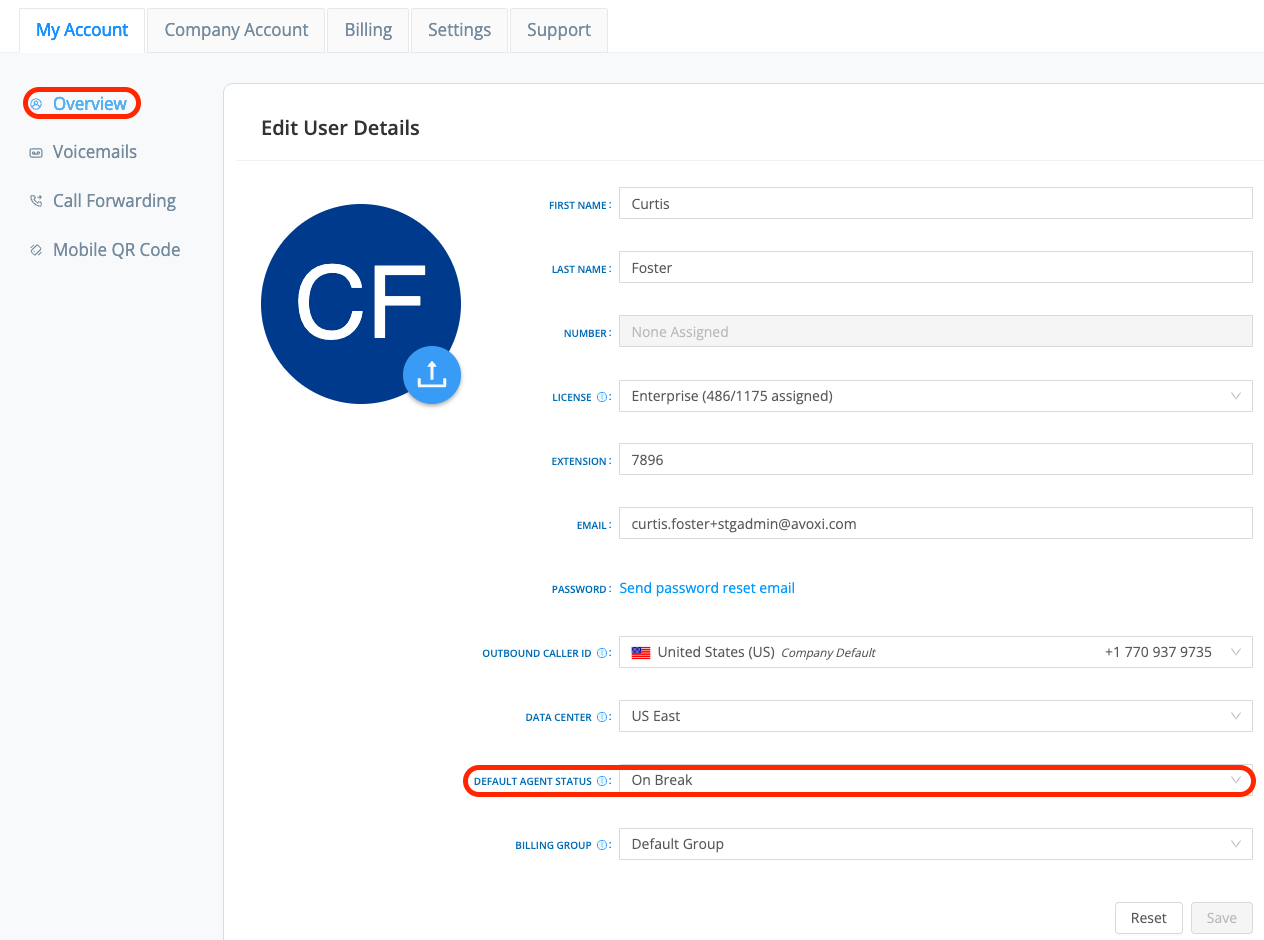
- Select the status you would like this Agent to be set to when they login

- Click Save
Next time the Agent logs in, this will be the status they are set to in their webphone by default.
Custom Webphone Statuses
Your organization may have different pause statuses than the default pause statuses provided in Genius. If you'd like to change which statuses your agents can choose from you can use the Custom Statuses Setting as part of your Company Settings.
You will need Admin rights to change these settings
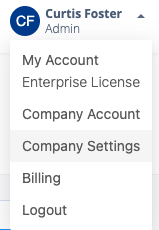
- Navigate to your Company Settings
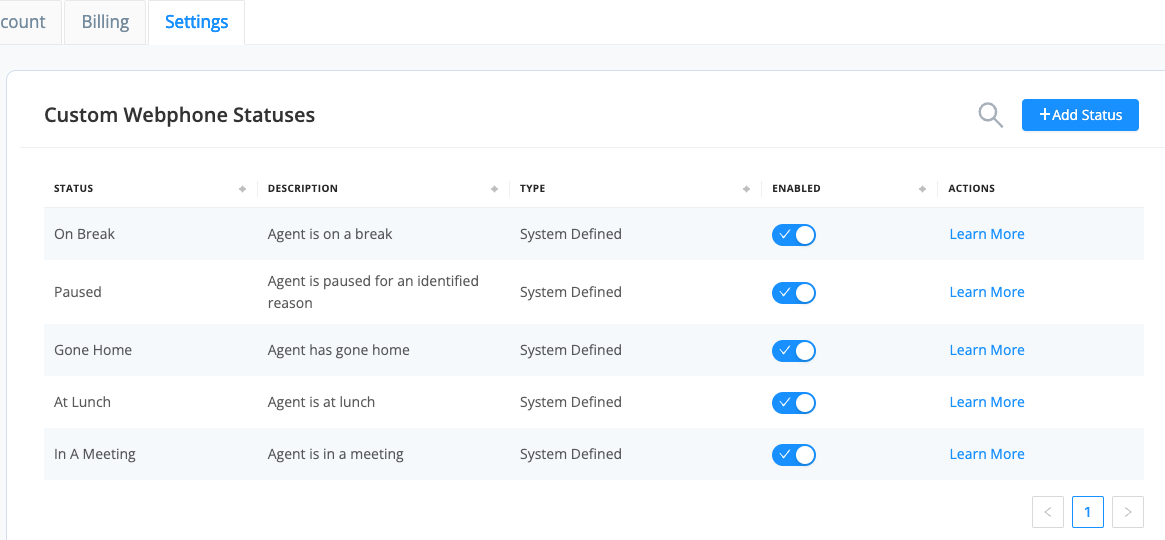
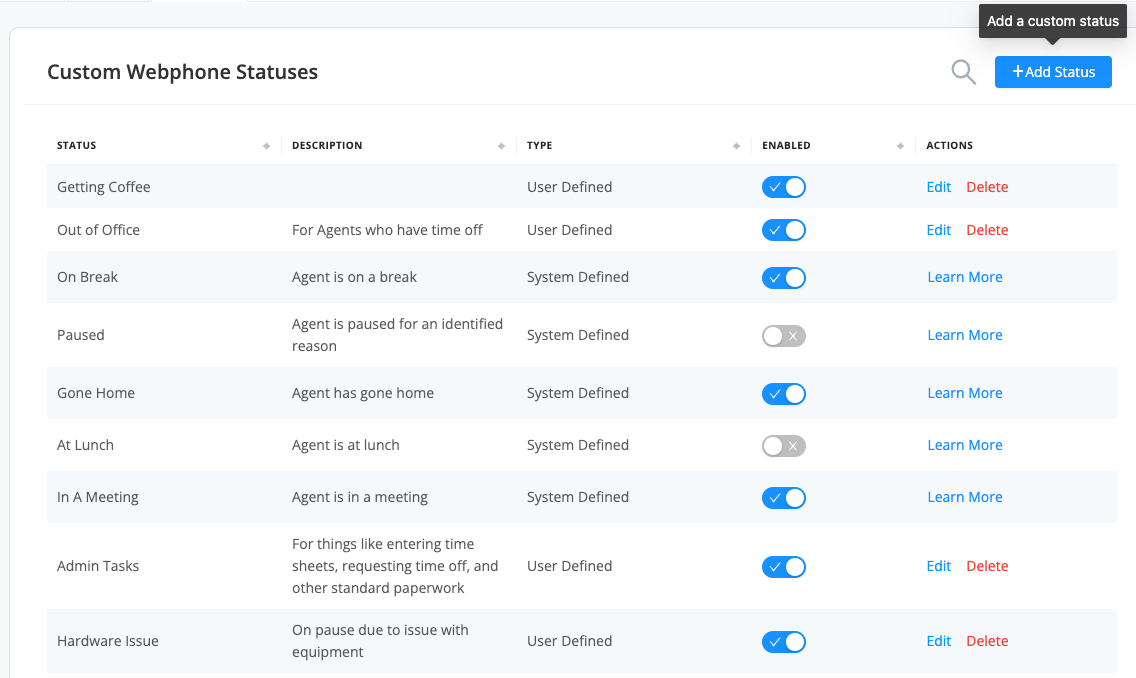
- Navigate to the Custom Statuses option

- Observe the default Pause statuses which are displayed. You can disable these statuses if you will not be using them
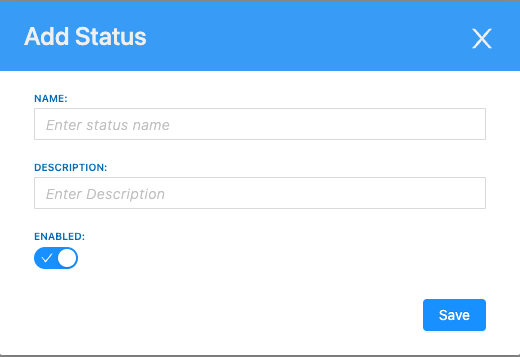
- If you'd like to add your own custom status, click Add Status in the top-right
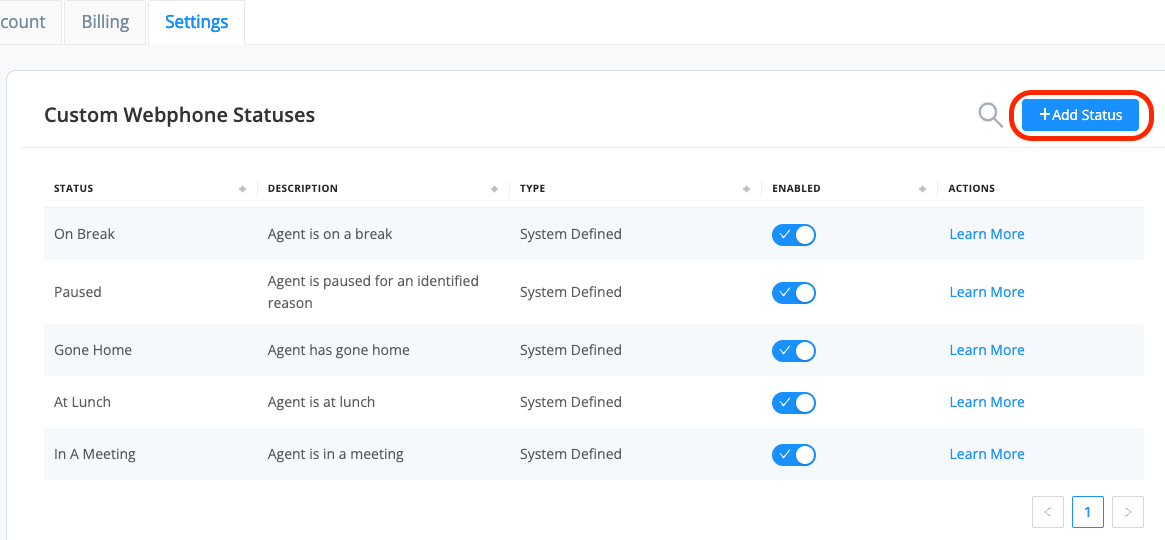
- Specify a Status Name which will be what Agents choose from their status menu and a Description which can be used to describe why this status will be used and click Save once finished
If you'd like to see more information on how an Agent can set their webphone status, please see this article.