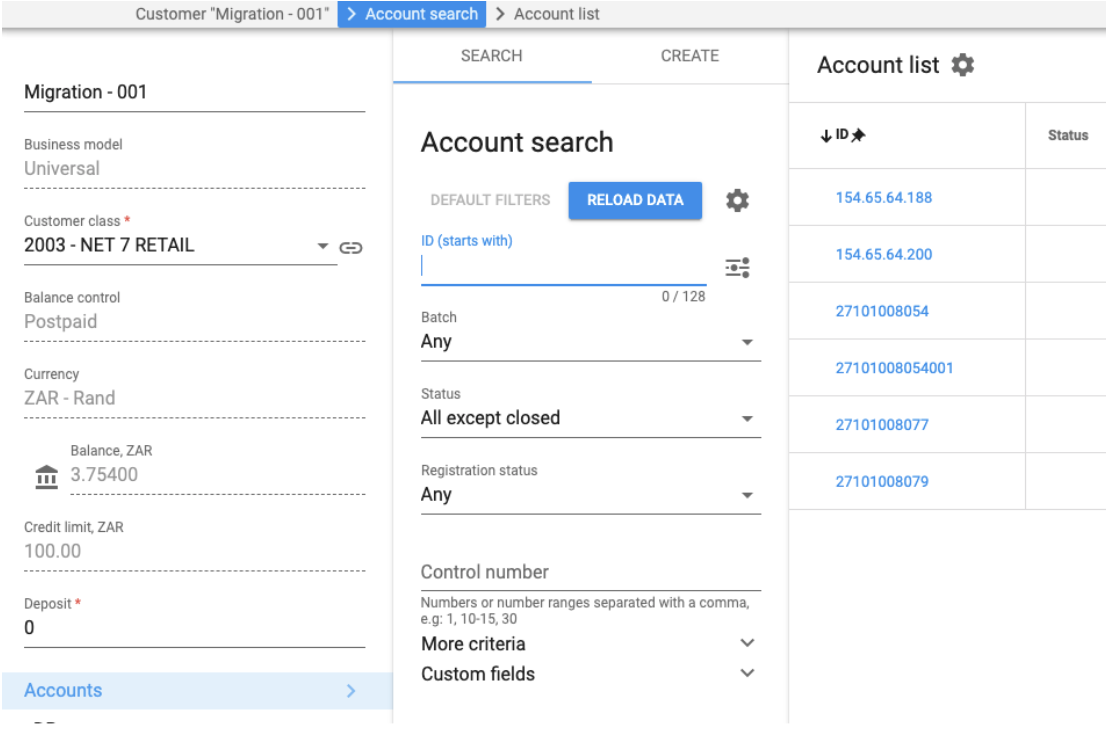
To create an IVR you need to be logged into the account ID’s Web Selfcare interface. To do this, you need to go to your accounts and select the number you wish to create the IVR on.
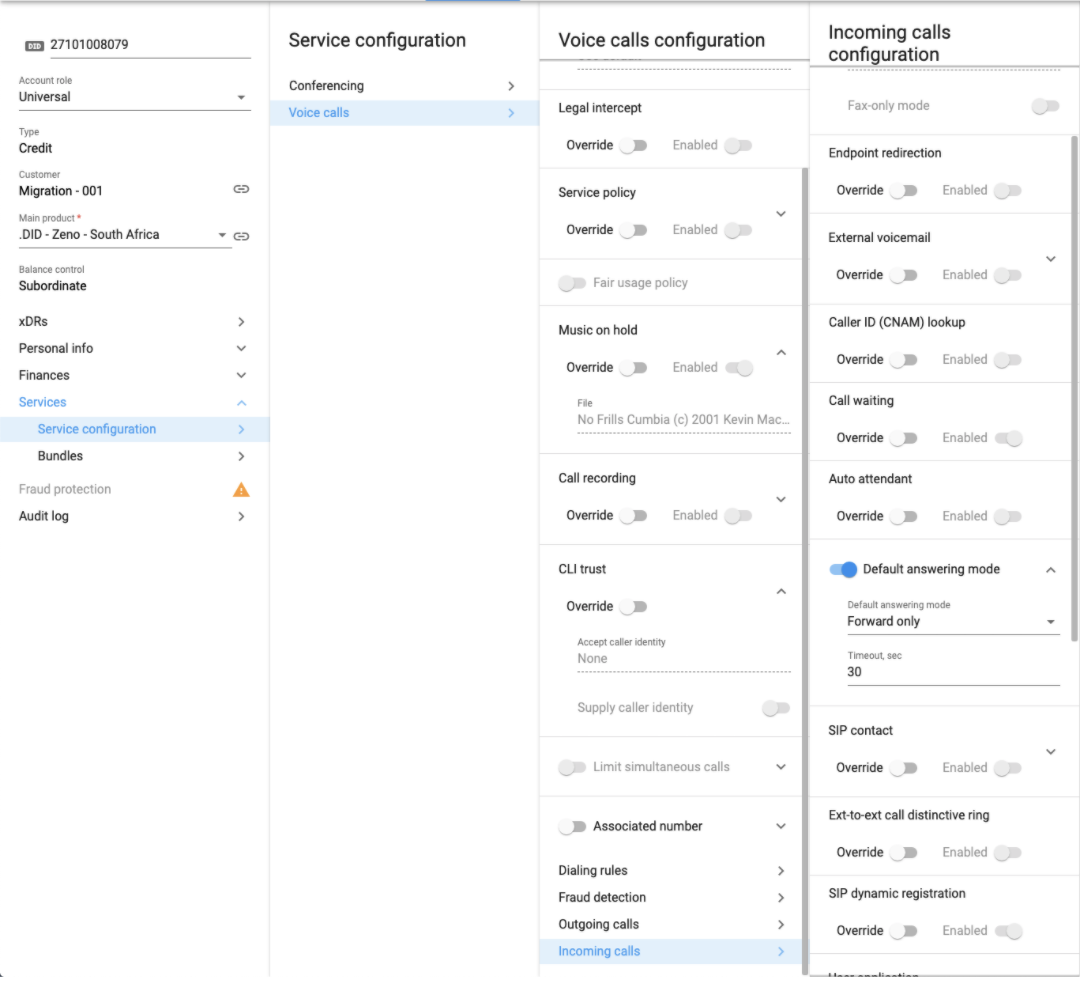
Once there, select Service, Voice Calls, Incoming calls and enable the auto attendant feature.
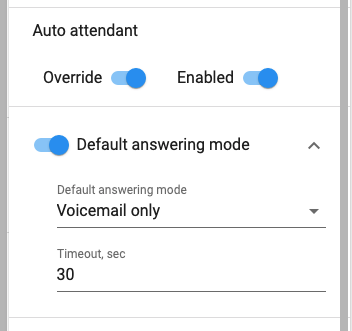
Click on Override and enable the auto attendant. Set the default answering mode to Voicemail only.
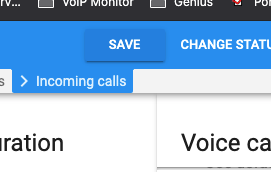
Click on save
Next, you need to go to the Web Self-care login button for the account ID.
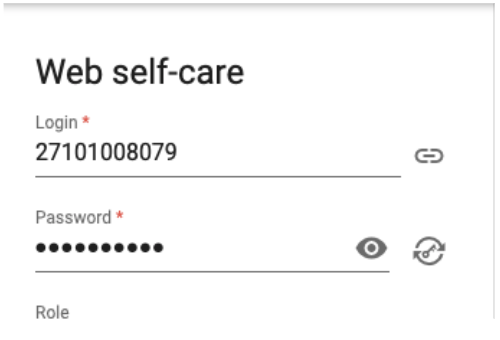
From here you can navigate to the IP Centrix TAB and select Auto Attendant
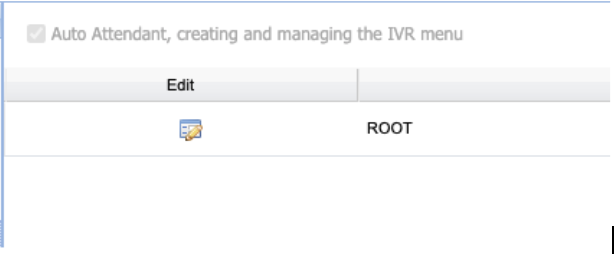
Click on edit next to the root menu, this will take you to the IVR Configuration page
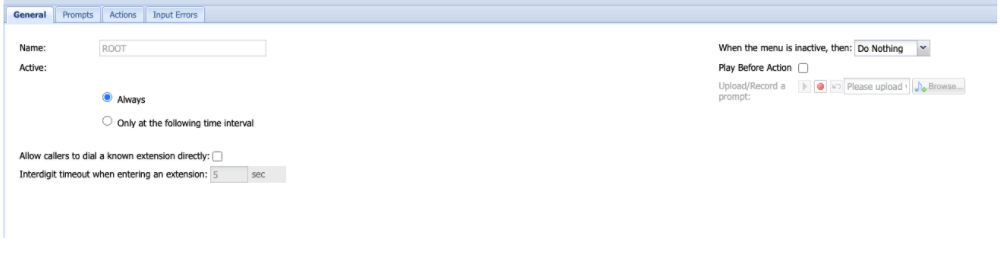
From the main page, you can edit the active times and set inactive options.
The next TAB is for the prompts. From here you can upload an Intro Prompt (not mandatory) and Menu prompt (You can have both intro and Menu combined in this recording)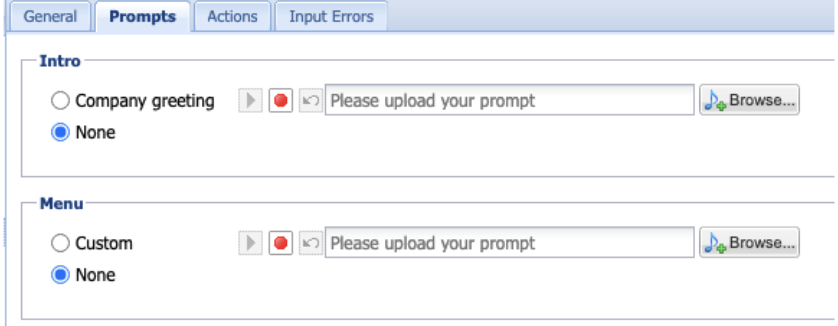
The next TAB is for the options
When you click on ADD it will bring up the Add new action window
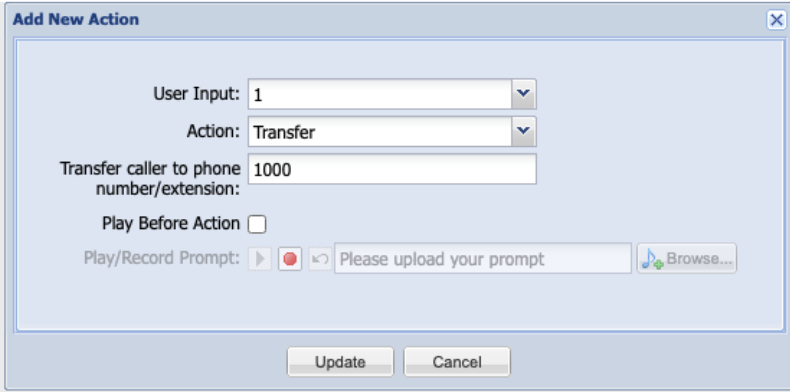
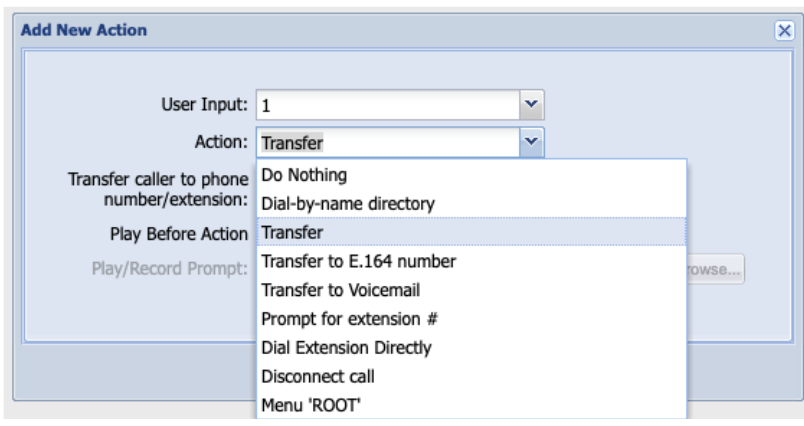
From here you can choose what the user input should be and what action to be taken when the option is pressed. The options are self-explanatory.
Once you have added all your options click on save.

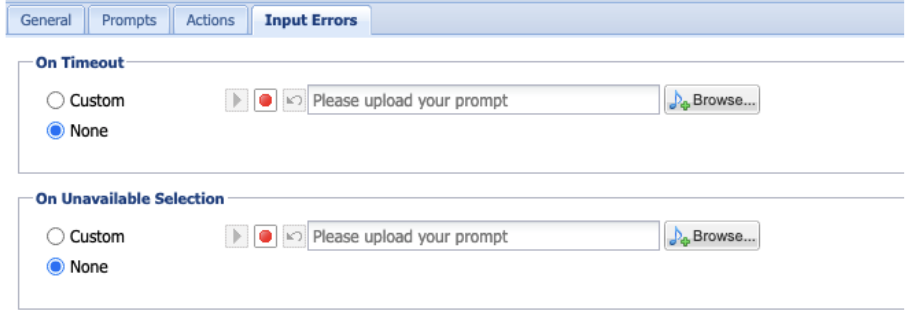
The last TAB is for input errors. This will allow you to add prompts in the event of a timeout or Unavailable Selection.
After saving your IVR will be active.