Activating Your AVOXI Account
Your AVOXI portal is ready to go - now it’s time to activate your account!
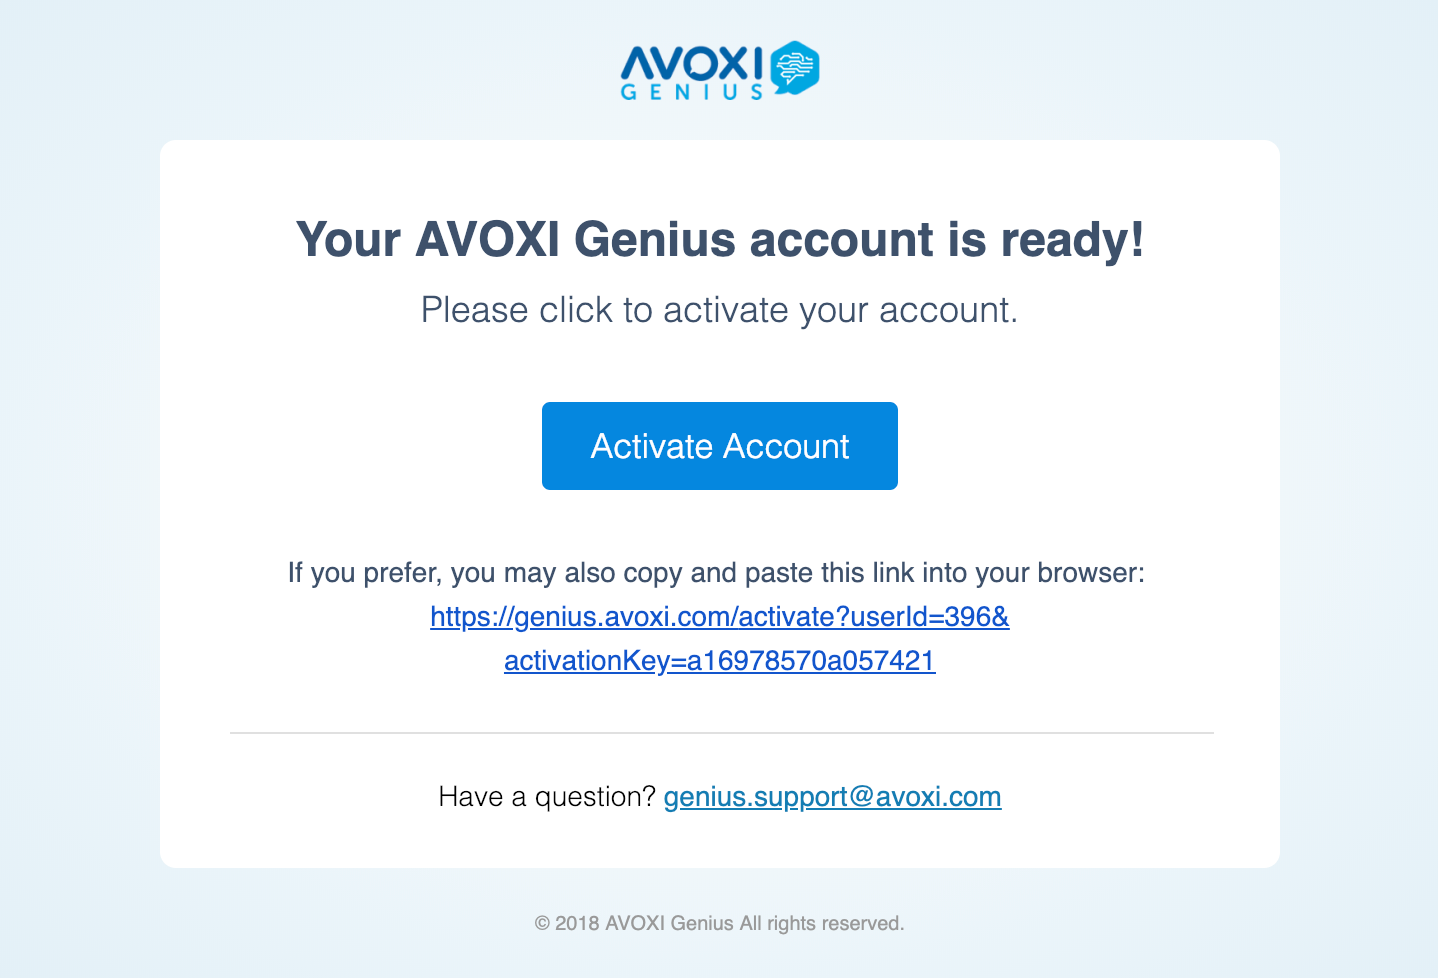
- First, check your inbox for an activation email.
- Once you locate the email, select Activate Account.
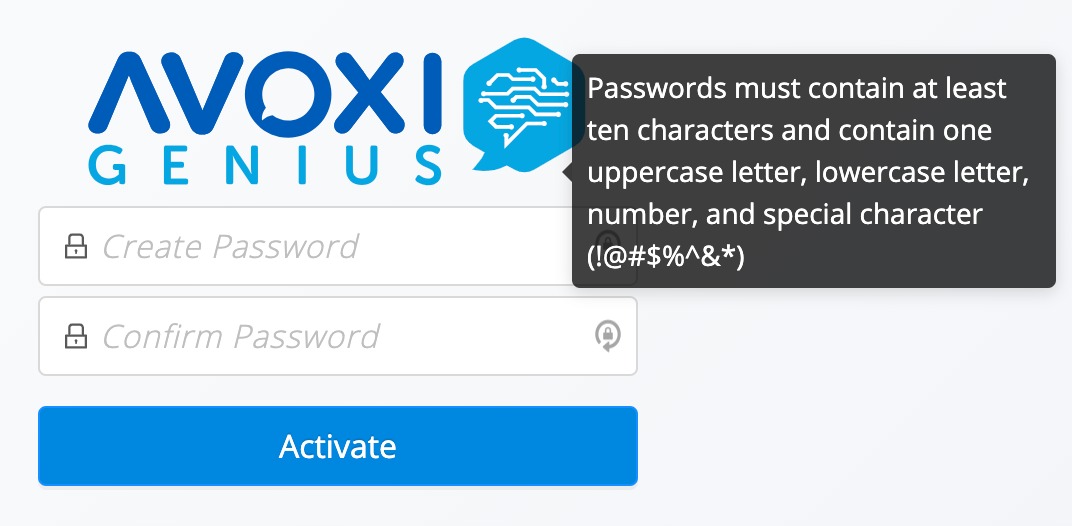
- Create and confirm a password for your account.
- Then select Activate.
- Requirements: Passwords must contain at least ten characters and one uppercase letter, lowercase letter, number, and unique character (!@#$%^&*).
-
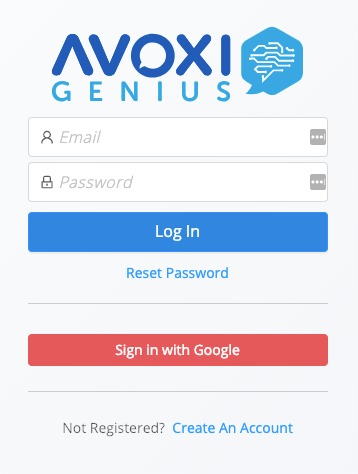
- Now it’s time to log in! Make sure to use your email address and your newly created password.
- Select Log In.
- Note: If the email you provided when purchasing a number via the Online Shopping Cart is not associated with your listed business, you can still log into your account. However, your new virtual phone number may not be activated until an AVOXI expert can confirm your account details (this usually takes 24-48 hours or less).
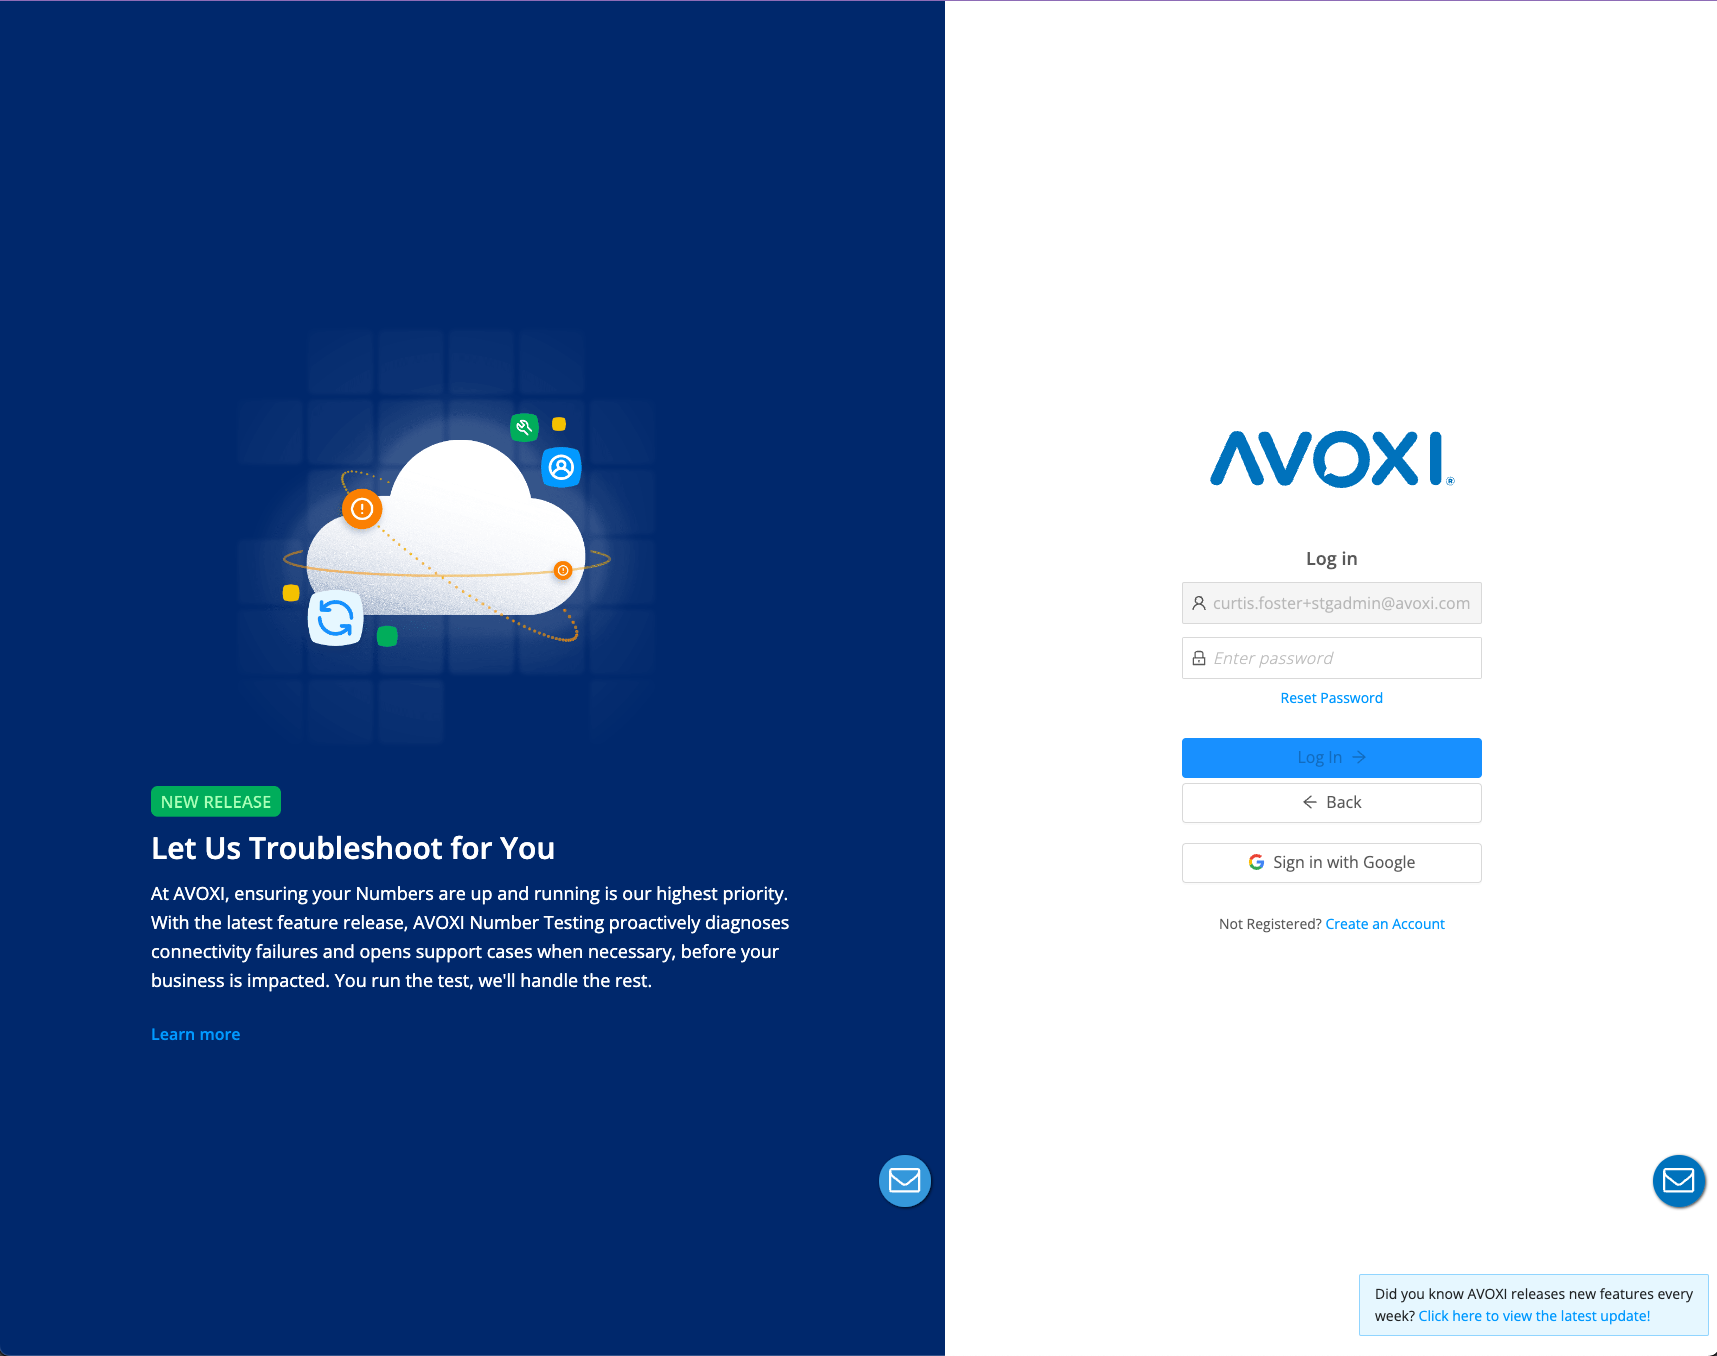
Login to your AVOXI Account
Logging into your AVOXI account is easy!
- Go to https://genius.avoxi.com
- Type in your email and select Continue
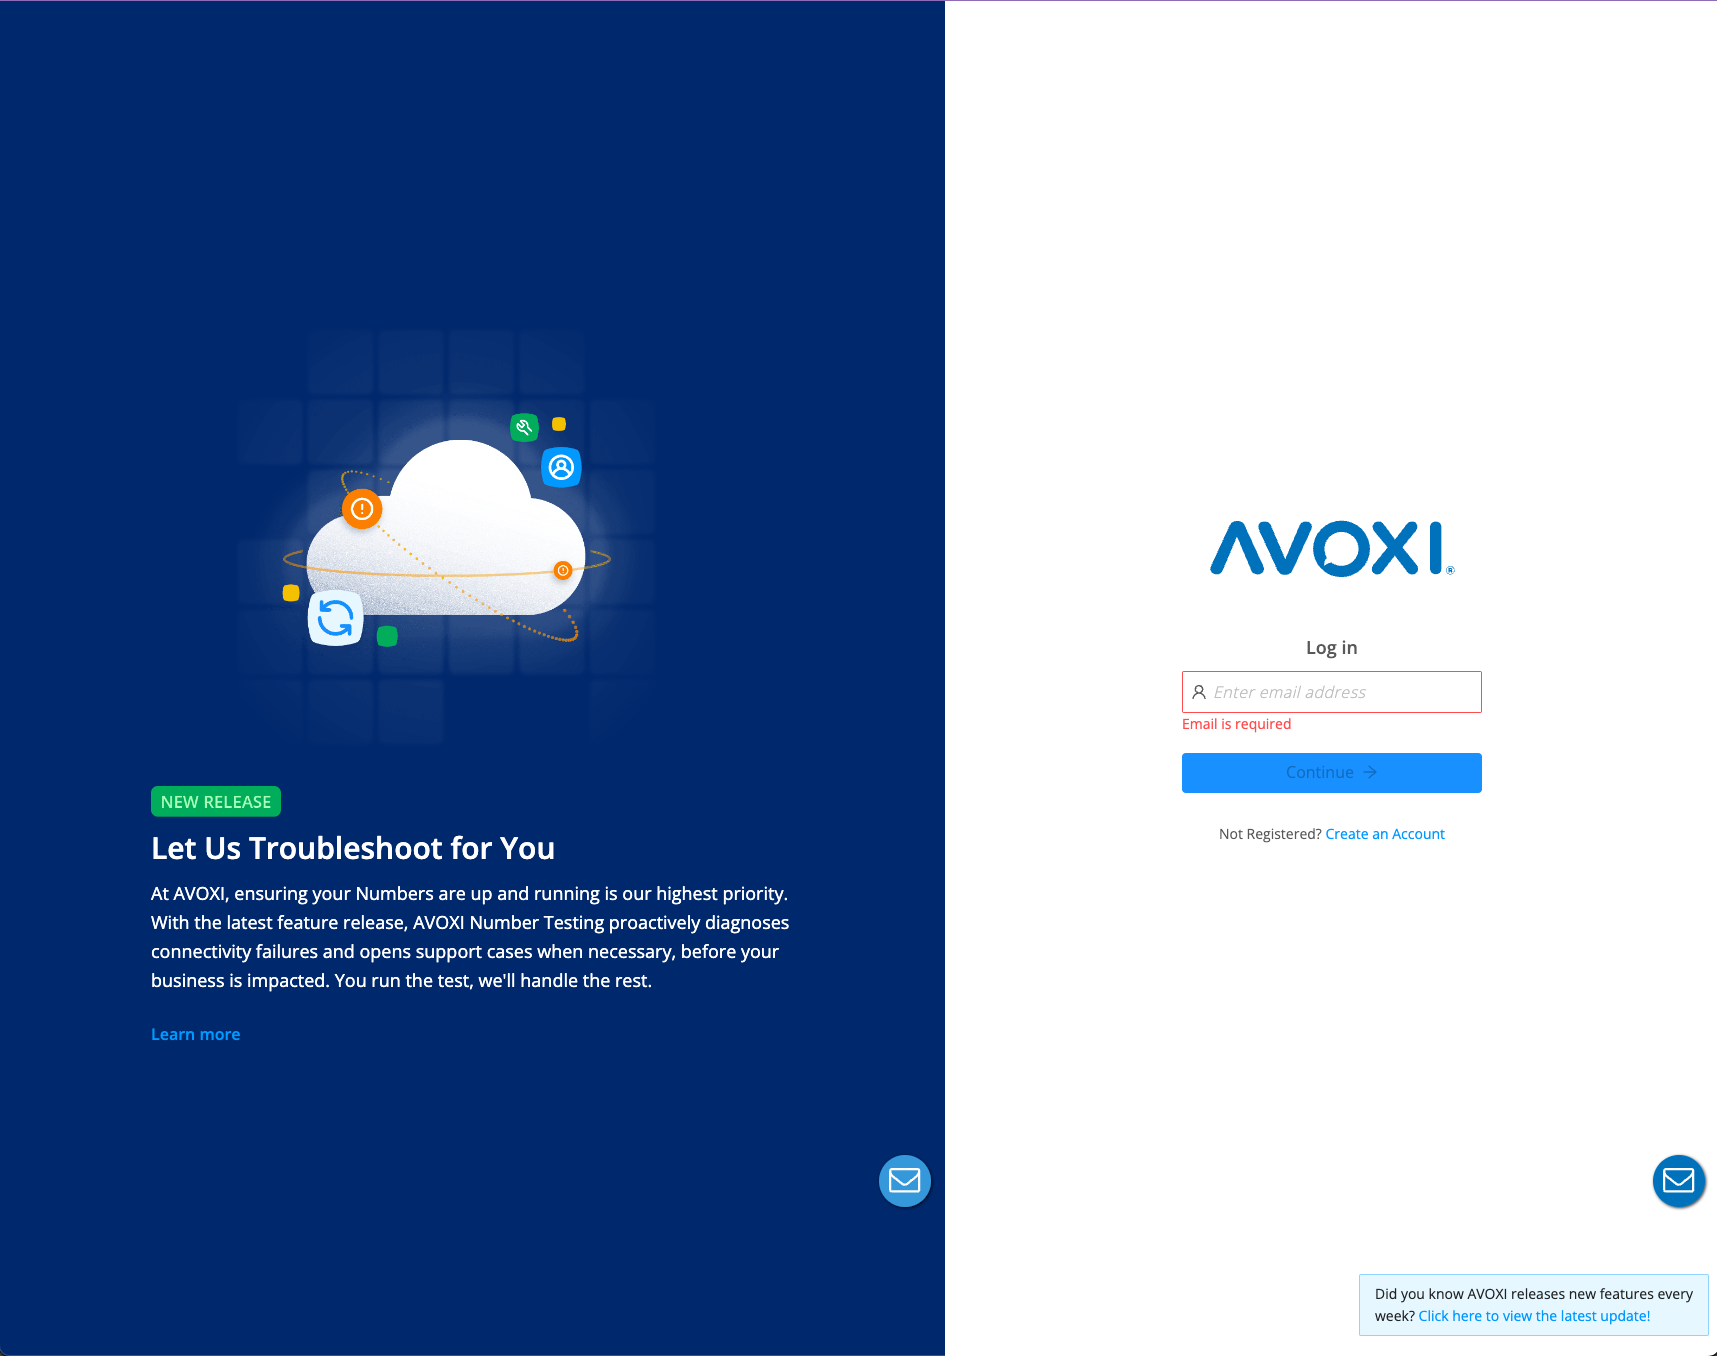
- Next, enter your password and select login.
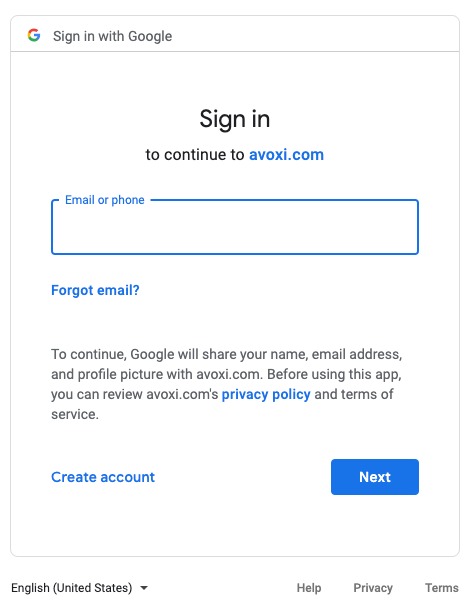
- Note: If you have a Google account, you can also log in by selecting Sign in with Google.
-
Make sure to follow the prompts using your Google account’s information to access AVOXI.
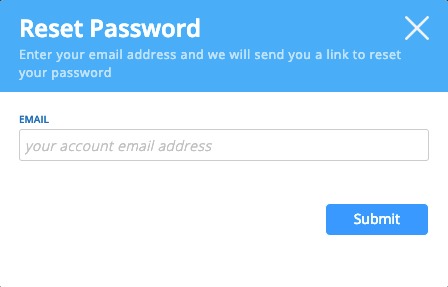
Reset your Password
If you forgot your password you can reset it at any time using the below steps?
- Go to https://genius.avoxi.com
- Select Reset Password.

- Type the email address that matches your account
- Select Submit.
- A secure link to reset your password will be sent to that email address if it matches what we have on file.
- Genius Tip: Passwords must contain at least ten characters and contain one uppercase letter, lowercase letter, number, and special character (!@#$%^&*)
Adjusting Your Browser Settings
To ensure the best user experience on AVOXI platforms and webphones we recommend you follow the below applicable browser configuration guidelines. Please note the AVOXI platform works best on Google Chrome but is also compatible with the Firefox and Edge Browser.
Google Chrome Browser
Effective from February 2019 Google’s Chrome browser now blocks auto-playing video with sound on both desktop and mobile. This change while positive may unintentionally block audio from legitimate websites.
To ensure Chrome does not block the audio for your Genius webphone please configure your sound settings for Genius using the below steps:
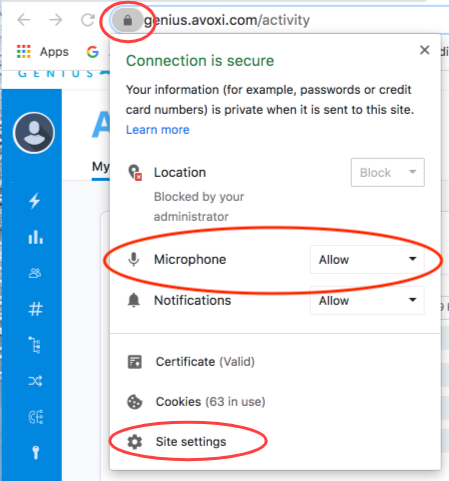
To update your Genius Google Chrome sound settings first Log into your Genius account.
- Select the lock icon in the URL address bar.
- Make sure the Microphone is set to allow.
- Then click the Site settings located at the bottom of the drop-down.
- Next, scroll down to your Sound setting and select the drop-down and adjust the setting to Allow
 Genius Tip: To enable Genius to call notifications, make sure you’ve allowed them in your Chrome browser. This can be done by selecting the lock icon in the URL address bar and then select Allow next to Notifications.
Firefox Browser
To ensure Firefox does not block the audio for your Genius webphone please configure your sound settings for Genius using the below steps:
- To update your Genius Fixfox sound settings first Log into your Genius account using the Firefox Browser.
- Next, select the lock icon in the URL address bar.
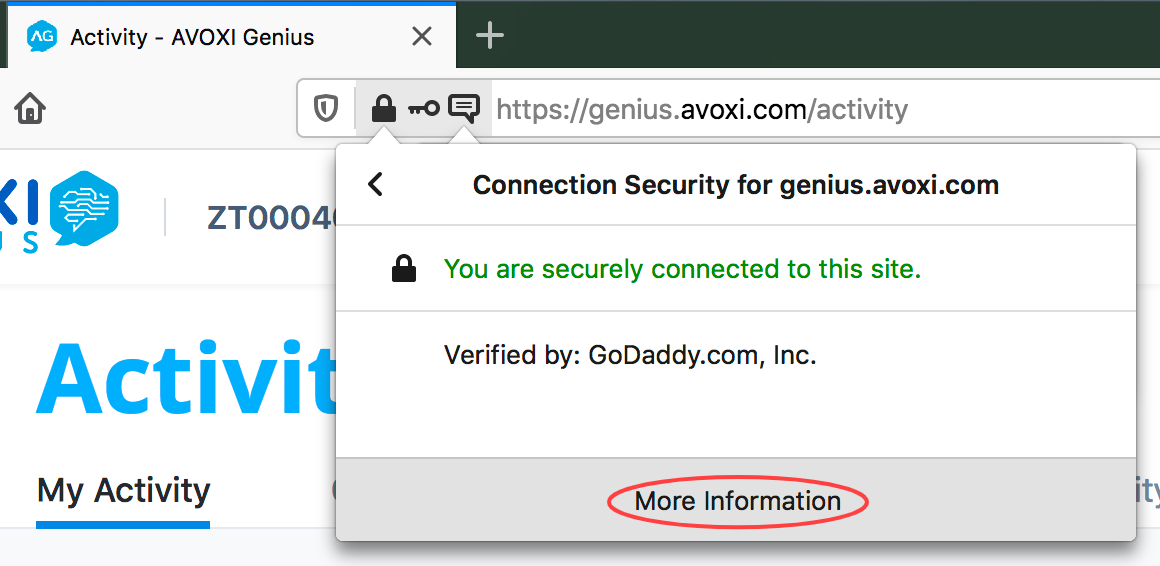
- Then click the "Connection Secure" extension.
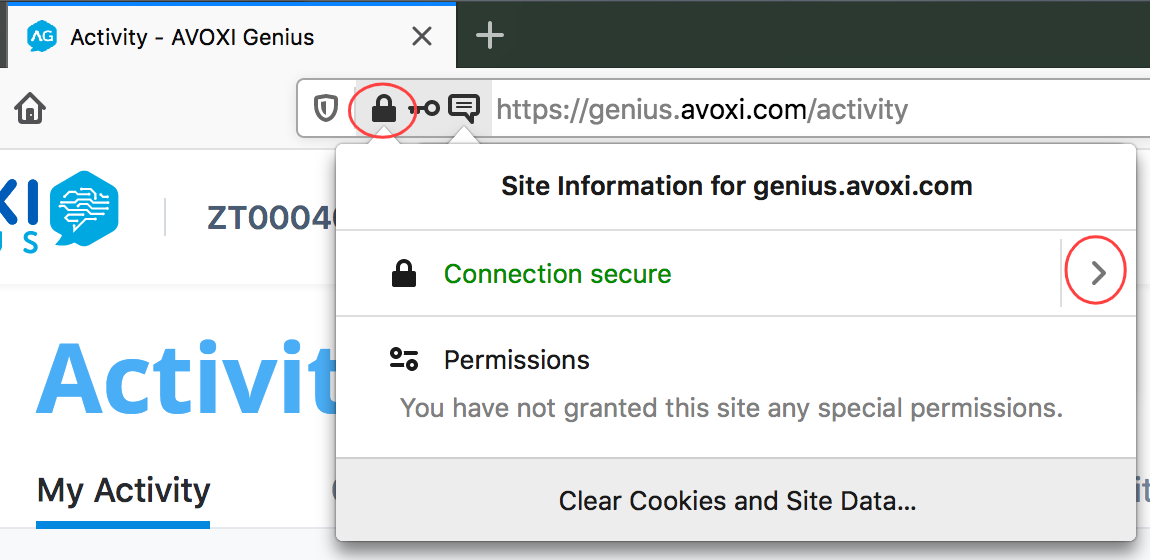
- Click the "More Information" located at the bottom of the window.
-
Select the "Permissions" tab located on the top of the settings screen.
- Untick the Autoplay default setting and click "Allow Audio and Video".
- Untick the Open Pop-up Windows default setting and click "Allow".
- Untick the Send Notifications default setting and click "Allow".
- Untick the Use the Microphone default setting and click "Allow"

-
Genius Audio Device Settings: To enable selecting an audio device in Firefox, follow these steps:
- Edit your Firefox configurations: type "about:config" in your URL bar and press enter

- Click "accept the risk and continue" when the warning pops up (don't worry, we won't do anything dangerous)
- In the search bar, type "media.setsinkid.enabled" until this config appears beneath

- Click the "switch" button to the right to toggle this config to "true"

- Reload your Genius tab to apply the new setting
- Edit your Firefox configurations: type "about:config" in your URL bar and press enter
-
Genius Tip": screenshot for double-checking allowed Notifications, Audio, and Microphone.

Edge Browser
To ensure Edge does not block the audio for your Genius webphone please configure your sound settings for Genius using the below steps:
- First Log into your Genius account.
- Select the lock icon in the URL address bar.
- Next, click the "Site Permissions" icon

- Adjust your "microphone" setting to "Allow"
- Adjust your notifications setting to "Allow"
- We also recommend you check all other settings and adjust as so required.
- When you are ready, select the "Reset permissions" arrow
- Click "Reset" to complete your changes

Using Your Webphone
Minimize and Expanding your Webphone
Making and Receiving Calls
The webphone is a 100% web-based application, with no software or additional equipment required to make it work. It's available to all License holders and all user "roles" (Agent, Admin, Supervisor, Billing Admin, Limited Agent, and Inbound Agent). Virtual numbers only customers are required to purchase a license to make use of the webphone functionality.
Making an Outbound Call
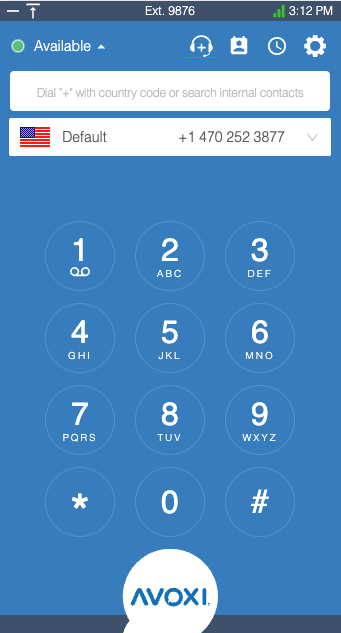
Locate your web phone in the lower right corner of your screen. Then select the + sign to maximize the phone’s display.
Type “+” and then select the dial pad numbers to dial the phone number you wish to call.
Next, press the phone icon![]()
Making a call to someone outside of your organization? Be sure to dial “+” followed by the country code and number (no spaces or dashes).
Making a call to an internal extension? Just dial that extension number, no “+” needed.
Tip: If you wish to use your computer’s keyboard to enter the number you wish to dial, make sure to click on the phone’s screen first to reveal the cursor and then use your keyboard’s keypad to enter the phone number.
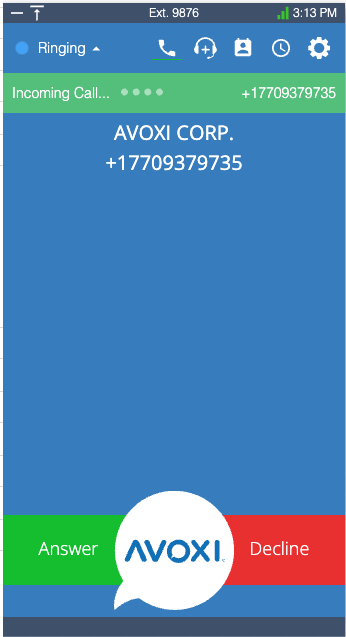
Receiving Inbound Calls
When you are receiving an incoming call, you have the option to Answer or Decline the call.
Make sure your volume is turned up so that you are able to hear your call coming in.
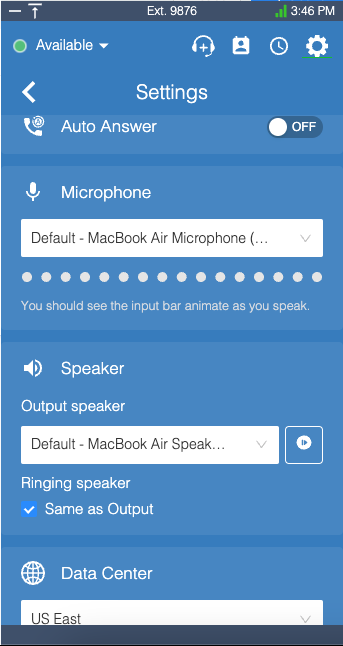
Understanding your Phone Settings
Select the "Settings" icon  to view and update the following:
- Auto Answer: TO set your webphone to auto-answer, simply click the toggle to "ON"
- Microphone: Choose your microphone settings and then speak to test it's working.
- Speaker: Choose your speaker and then use the test button to ensure it's working.
- Data Center: Choose the data center to route your calls through
Viewing Call History in AVOXI
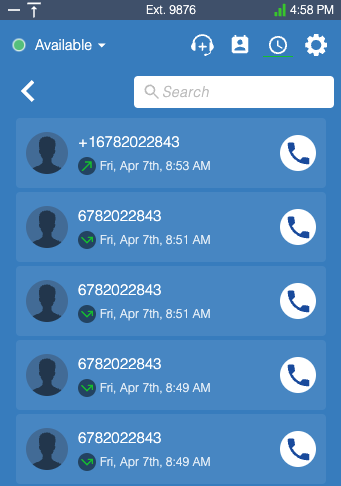
On your webphone, select the clock icon ![]() to view all past incoming and outgoing calls.
to view all past incoming and outgoing calls.
Select the phone icon![]() next to a number to quickly redial that number. This will also, if possible, use the Outbound Caller ID you had selected when making that prior call (will not use currently selected Outbound Caller ID).
next to a number to quickly redial that number. This will also, if possible, use the Outbound Caller ID you had selected when making that prior call (will not use currently selected Outbound Caller ID).
If you’d like to go back to your dial pad, select the headset icon ![]() .
.