With call screening, you control how inbound calls are handled before you even answer them. Create call screening rules to send specific callers straight to voicemail, or transfer them to another number or extension.
Next, scroll down to the "Phone Line Feature Configuration" and use the "toggle" next to the "Call Screening" feature.
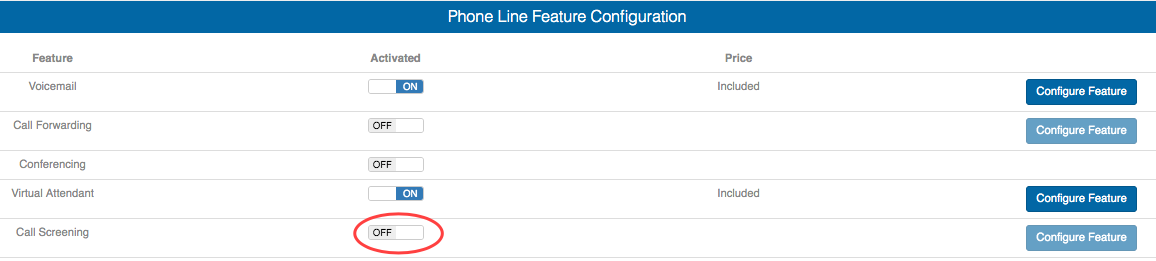

Click on the "Configure Feature" button
You will be re-directed to the "Call Screening" home page.
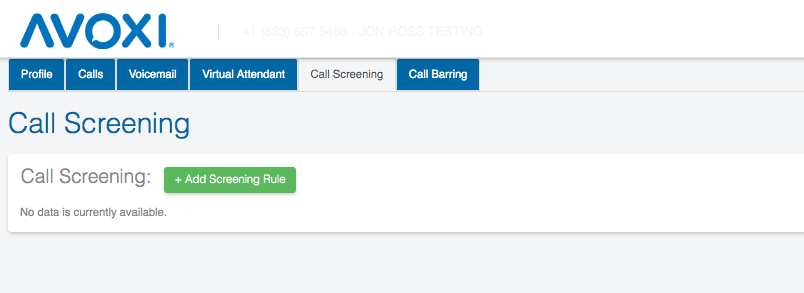
Click on the "+Add Screening Rule" and complete the following steps to configure your Call Screening Rule:
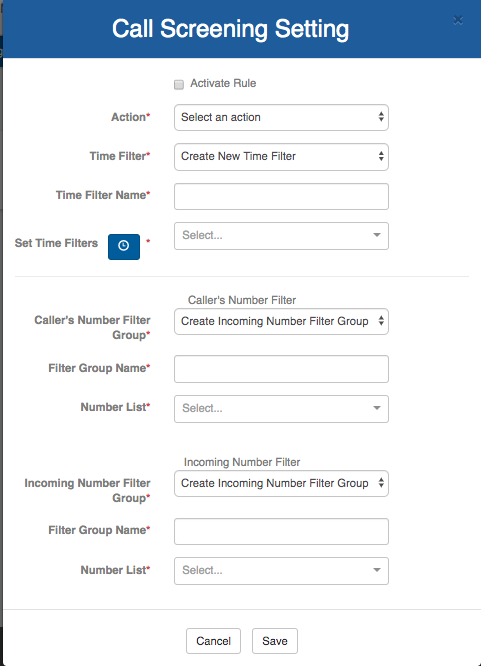
- Use the “Action” field to determine what should happen to the screened call. (Example: Ring Voicemail or Reject)
- Select the time that you wish the rule to be active using the “Time Filter”. If you want this new rule to stay active at all times, leave blank.
- Add the phone numbers that you wish to screen using the Caller’s Number Filter Group. If you don’t have any groups created, select “Create Incoming Number Filter Group” and name it in the next field.
- In the “Number List” field, add the phone numbers, starting with the country code, you would like to filter.
- Under “Incoming Number Filter” Add the incoming phone numbers that the Call Screening rule should affect. This number should be a number in your AVOXI Core account that callers dial to reach you. (Note: You can select “Any of My Numbers” if you wish to apply the Call Screening rule to all numbers in your account.)
- To activate your Call Screening rule, check the Activate Rule checkbox. Then, click "SAVE" to confirm your changes. Your new call screening rule will appear on the Call Screening main page.
- Editing Call Screening Rules
To edit an existing Call Screening rule, click on the pencil icon under the column labeled “Edit.”
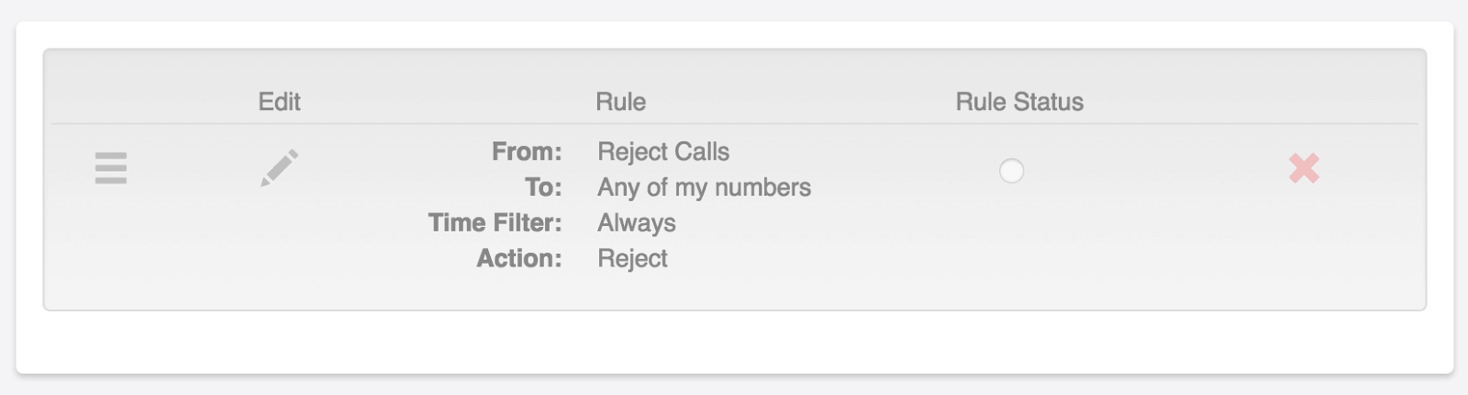
A popup window will appear and allow you to change the existing settings on your Call Screening rule.
When you have completed your changes, click Update to confirm. The updated rule will appear on the Call Screening main page.
TIP: Use the three-lined icon to the left to drag and drop rules into the correct order.
How to Use Call Barring
Call Barring is a great feature to help you manage where your employees are calling. With call barring, you can select specific geographical regions or specific countries where you would like to disable outbound calling.
Blocking Outbound Calling to Specific Countries
A few simple steps let you control outbound calls based on geographies.
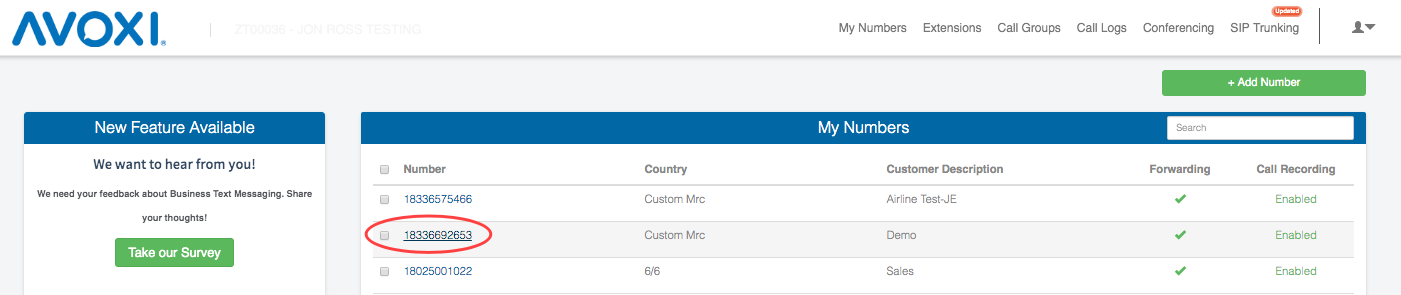
- First, select the number you would like to enable call barring from the home page.
- Make sure the feature is enabled in the phone line profile.
- Go to the call barring tab and click on the region you would like to block outbound calls.
- Click on the “+” sign on the desired region. A list of countries within that region should expand.
- Select all or choose the specific destinations (countries) you would like to block.
- Be sure to click save to implement your settings.